
Overview
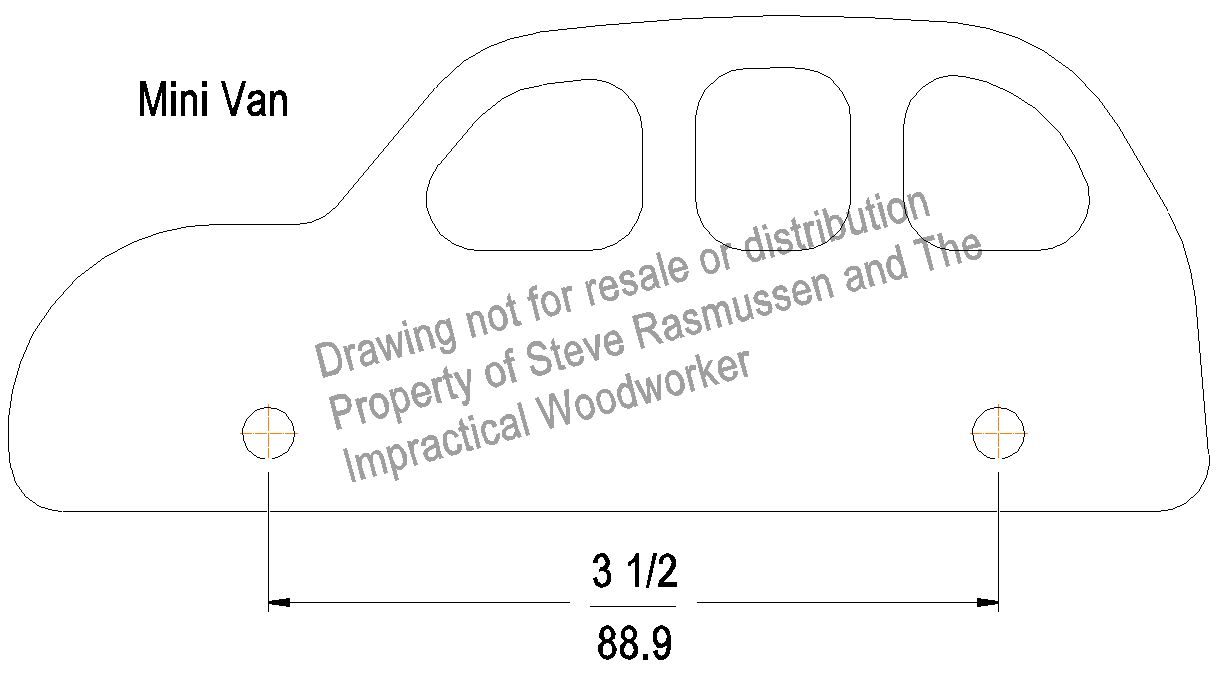
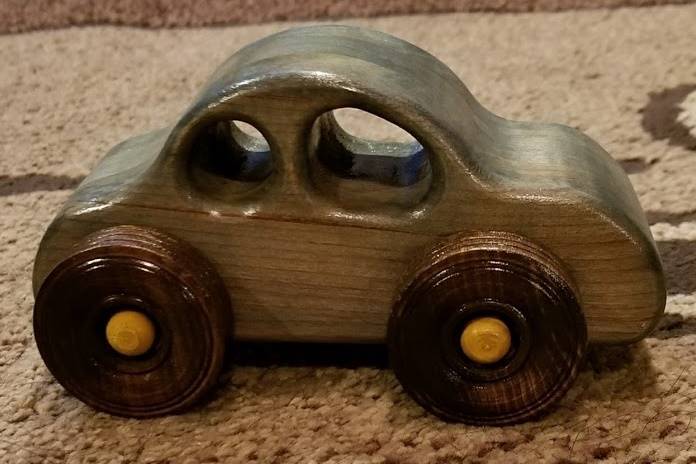
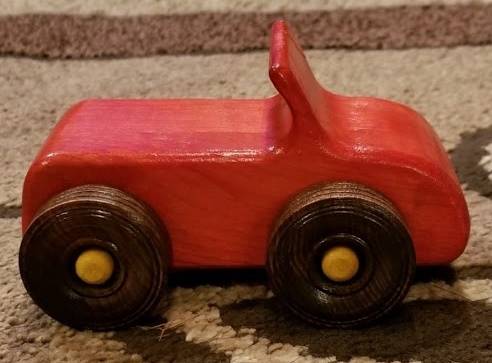
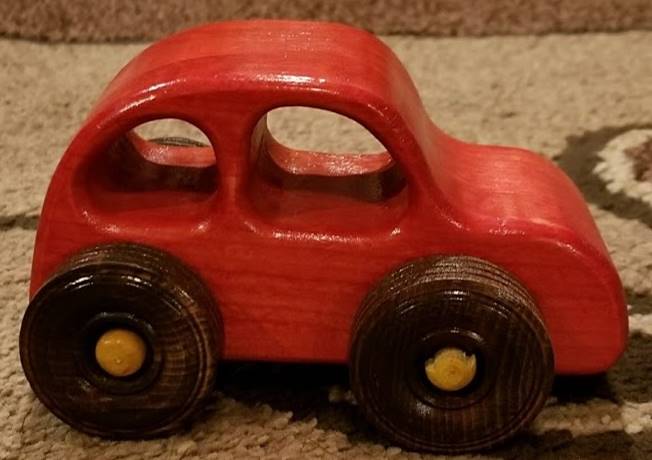
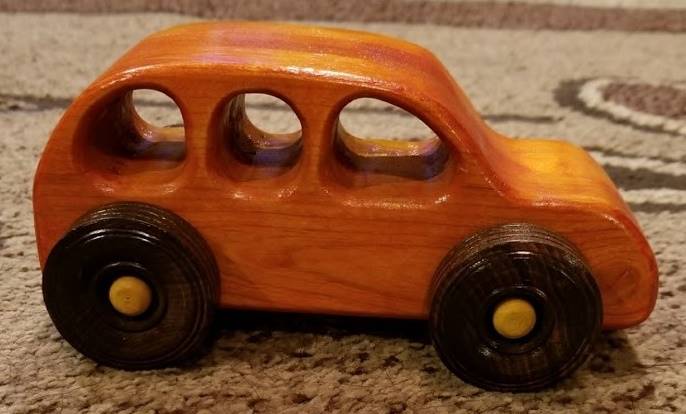
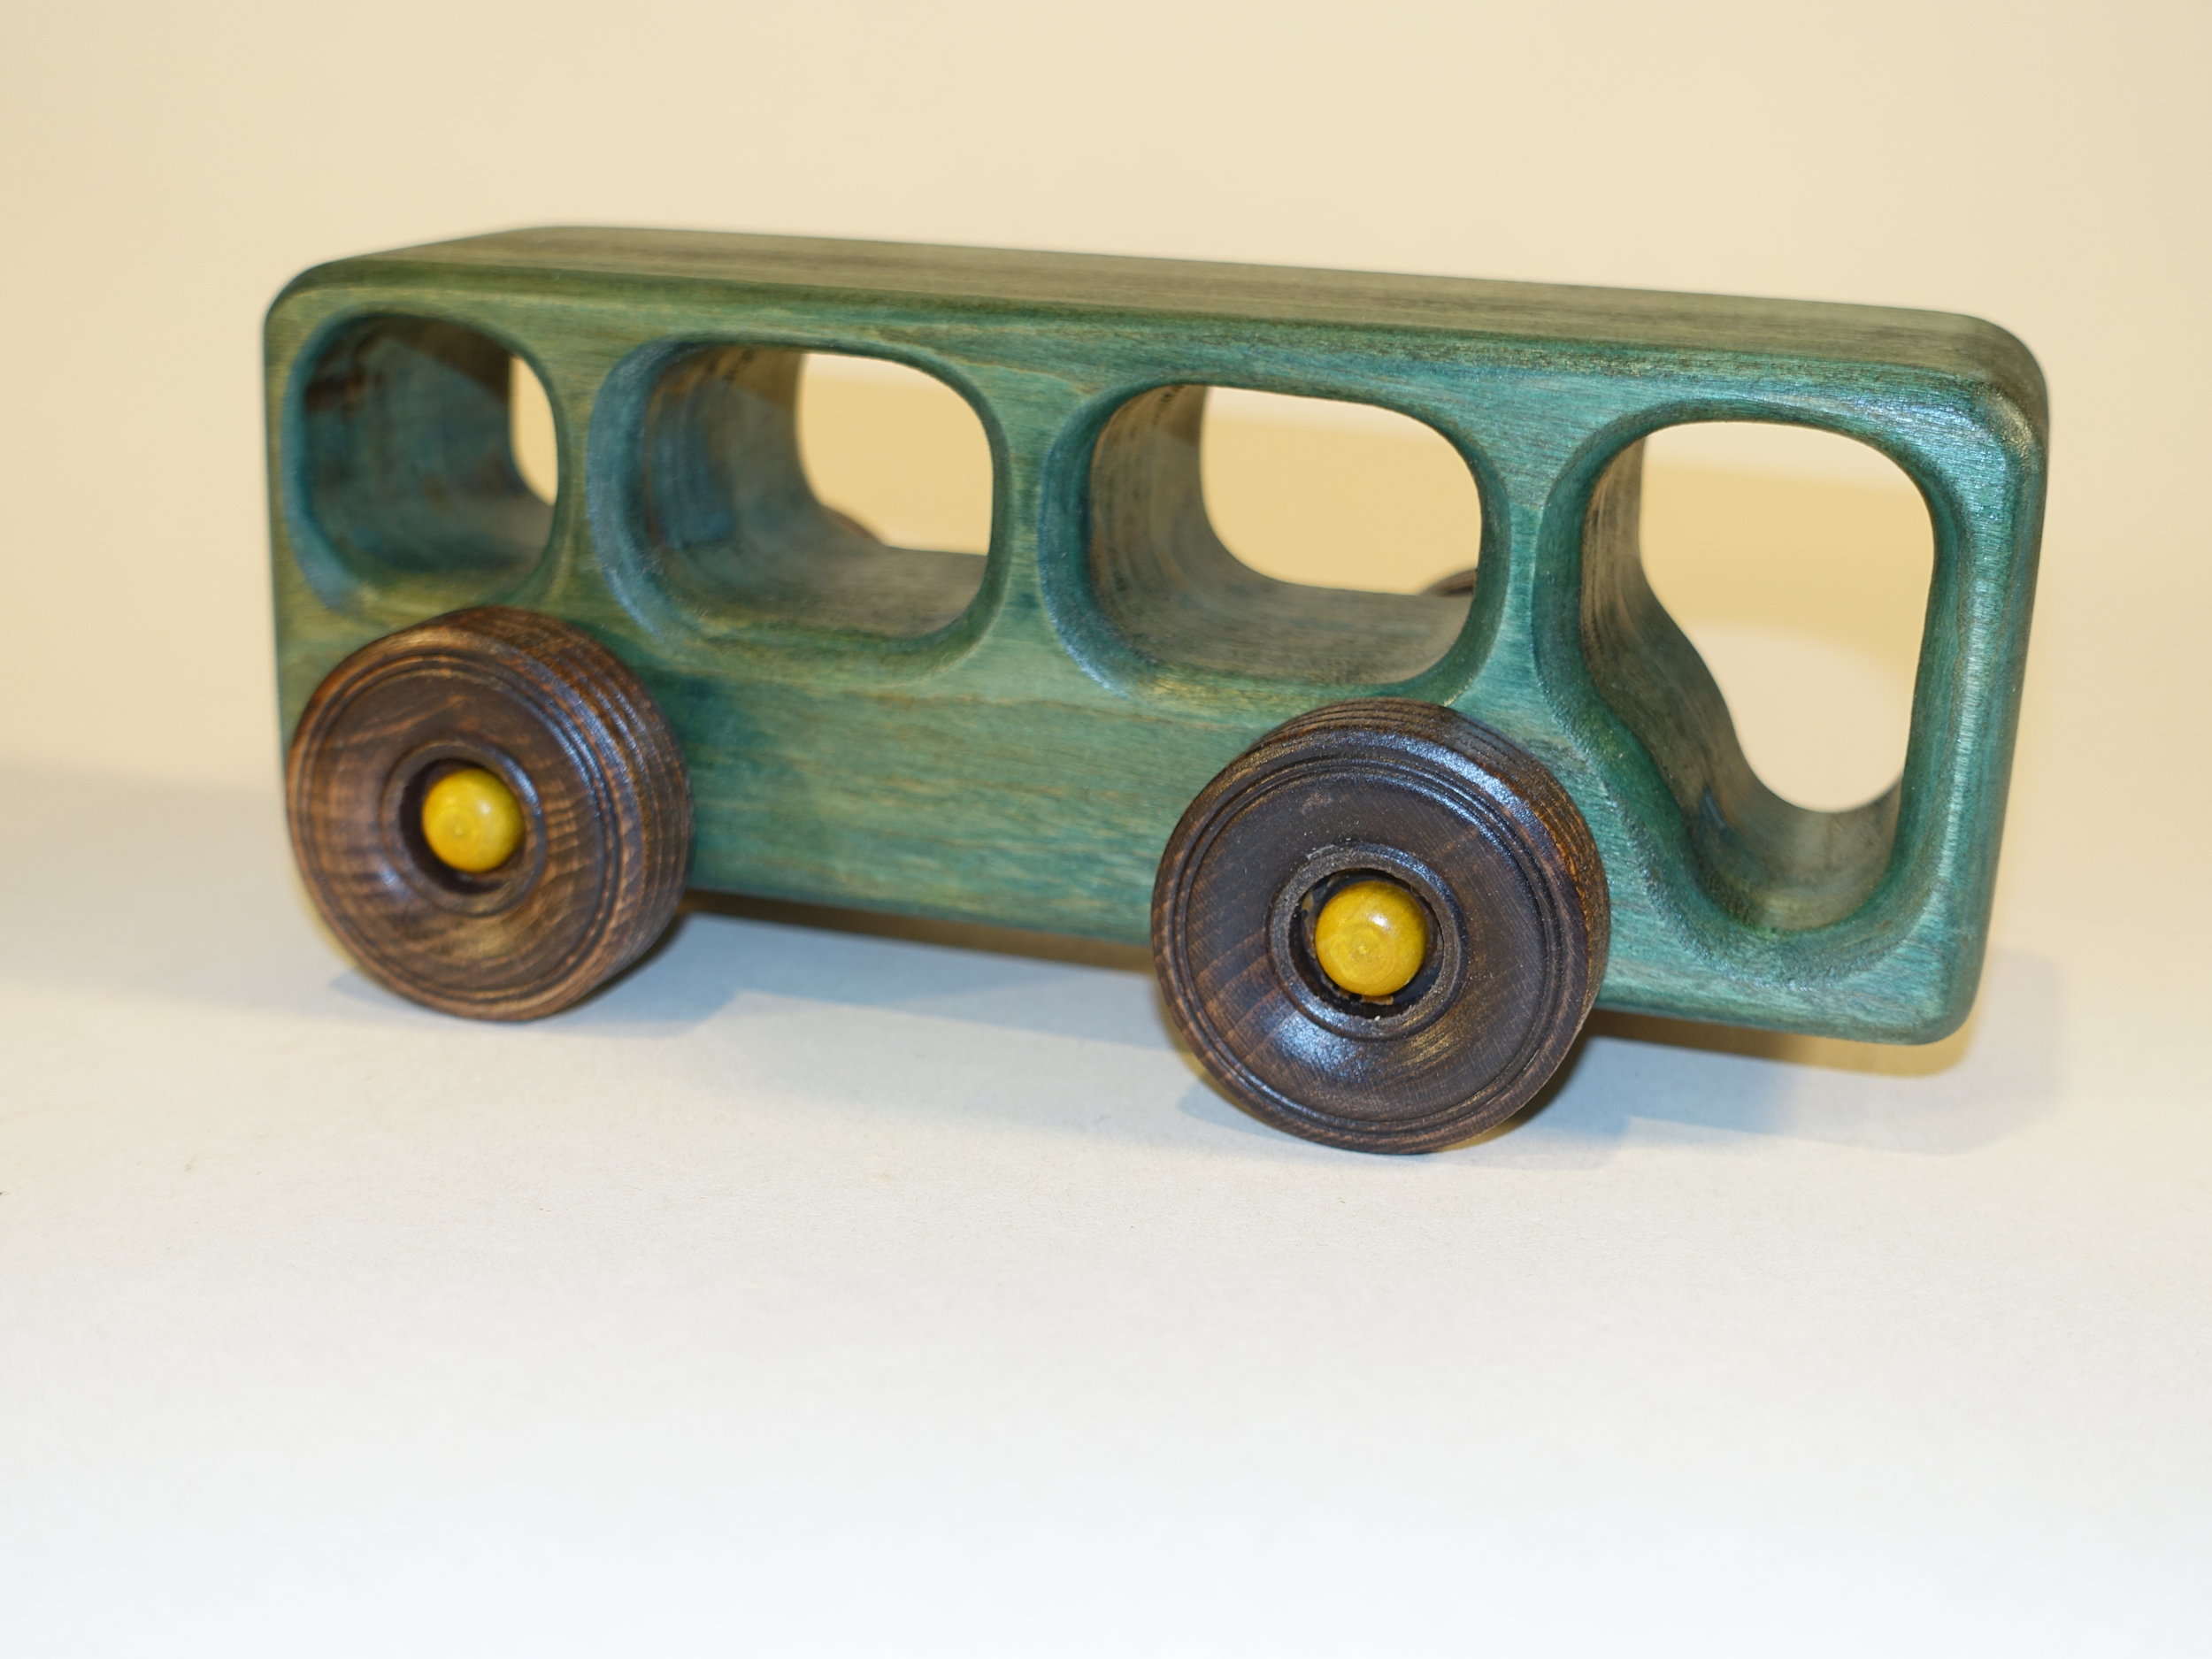
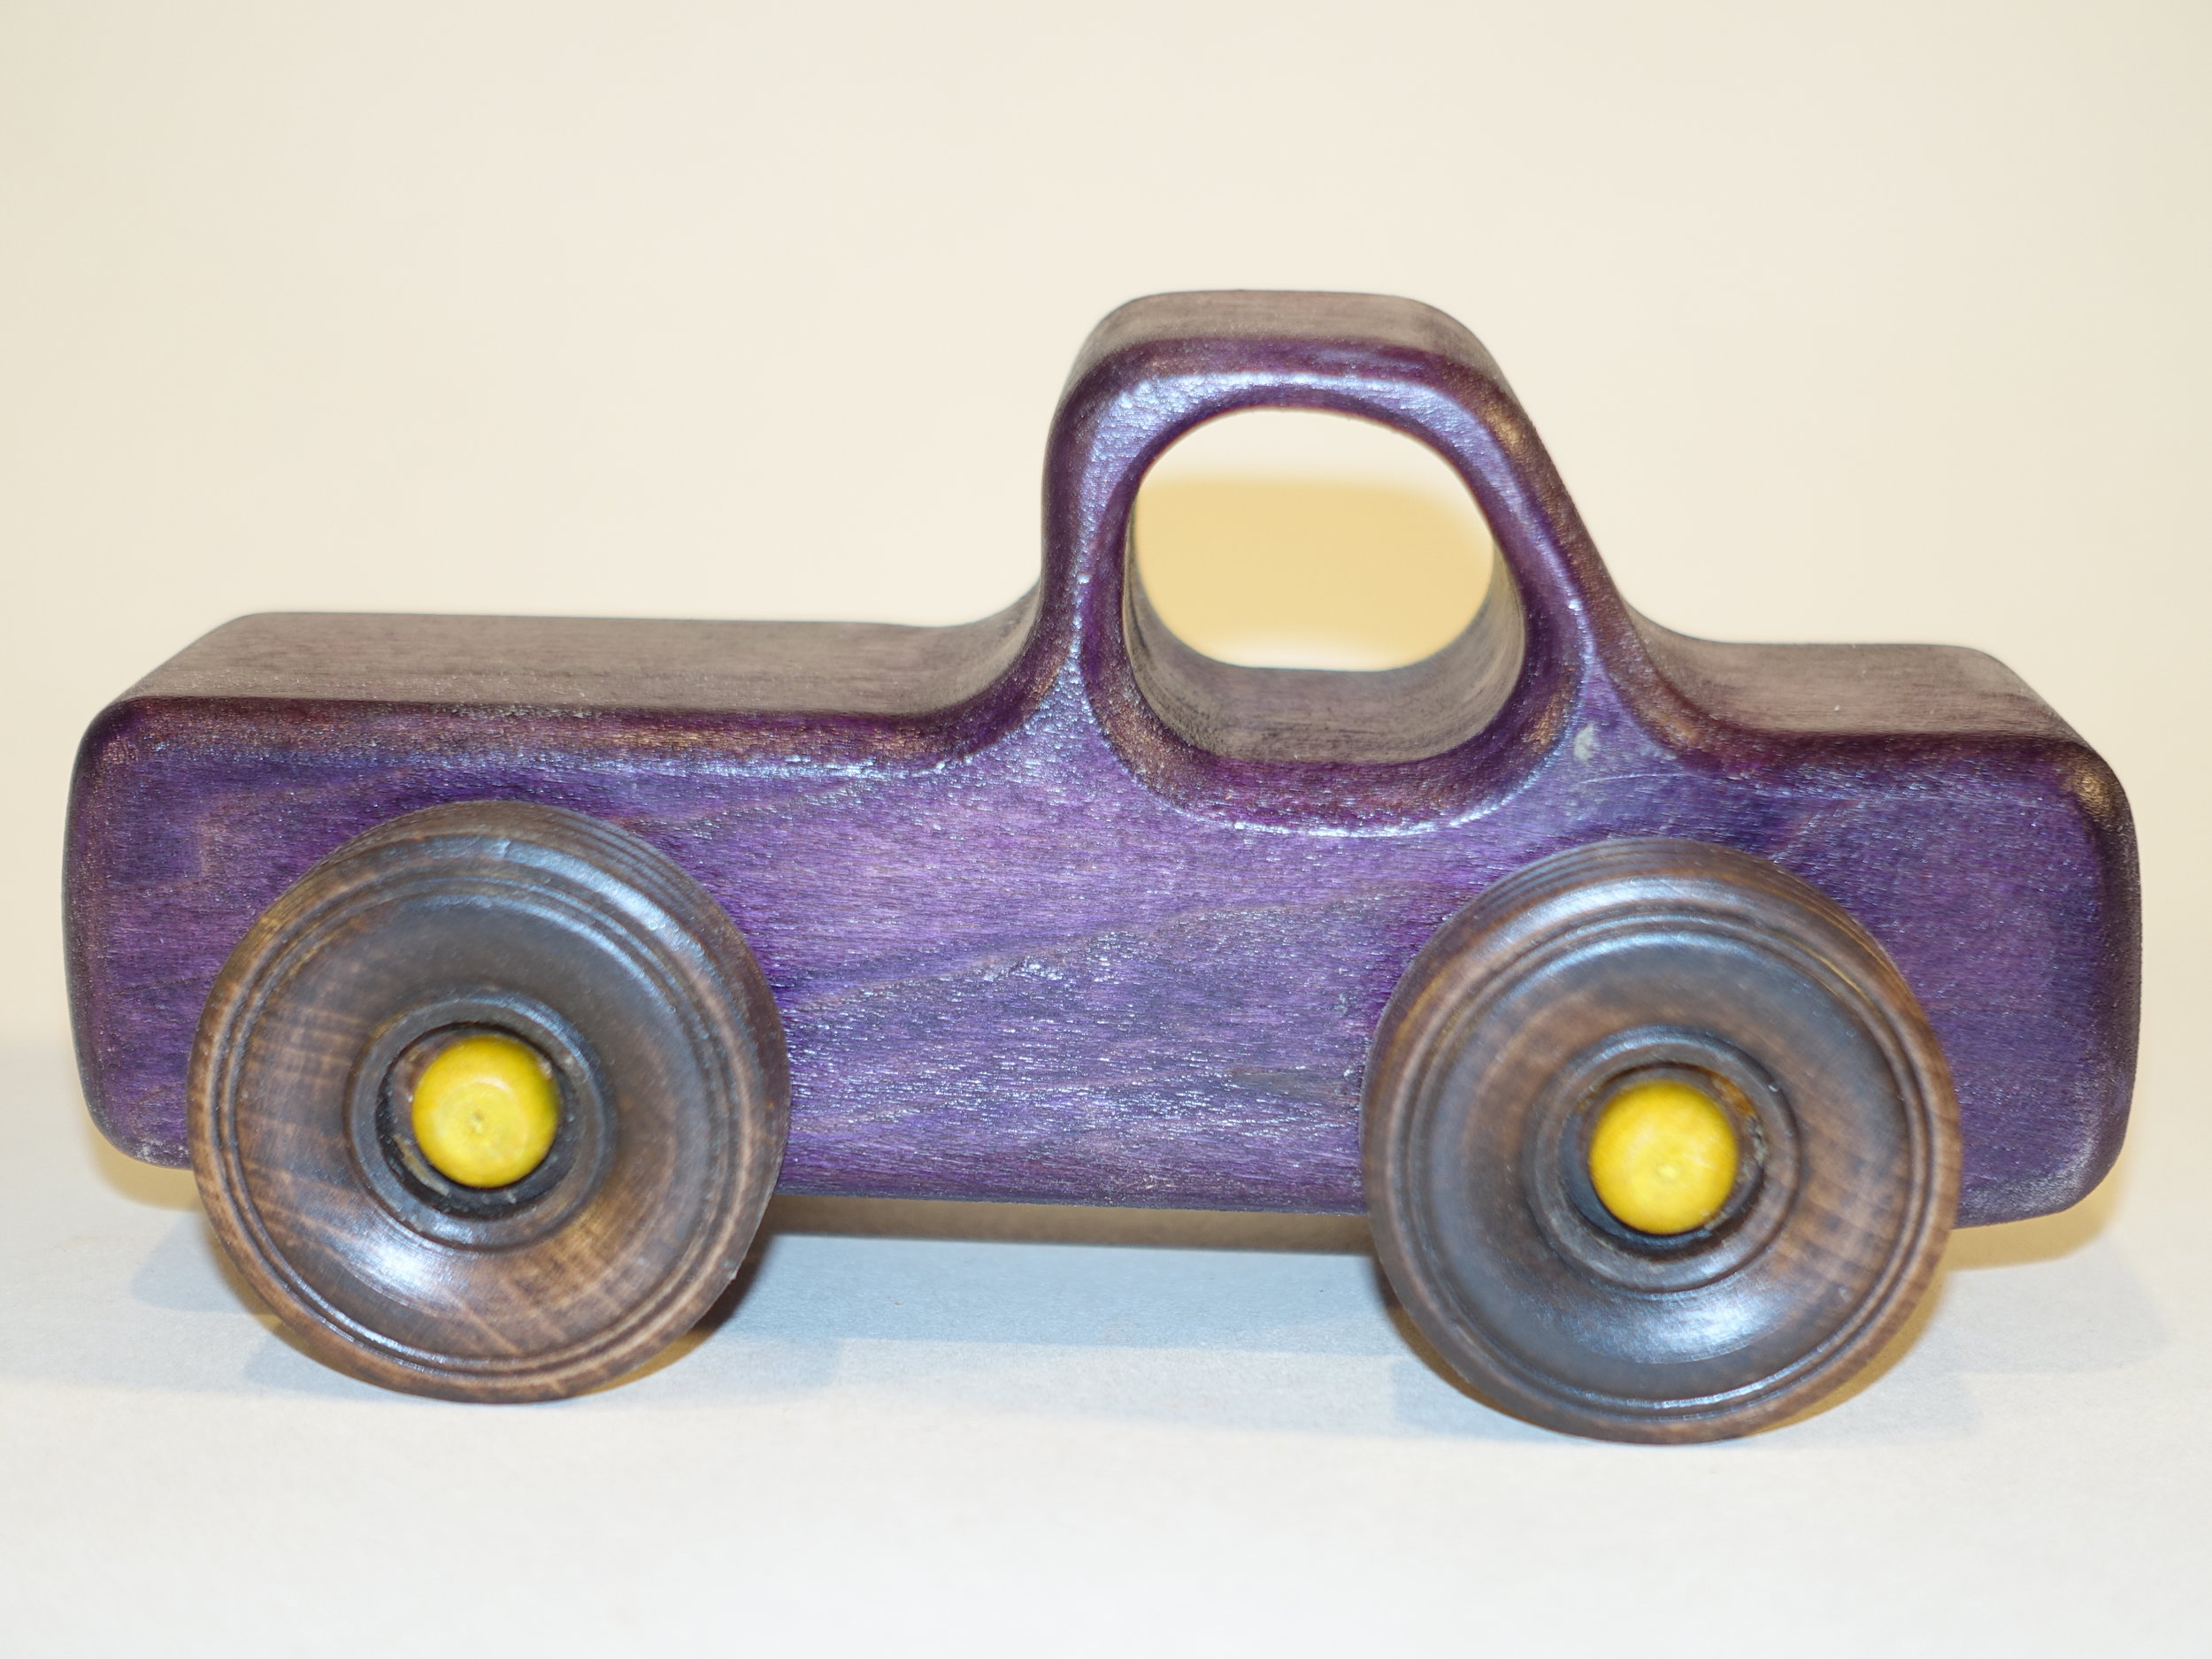
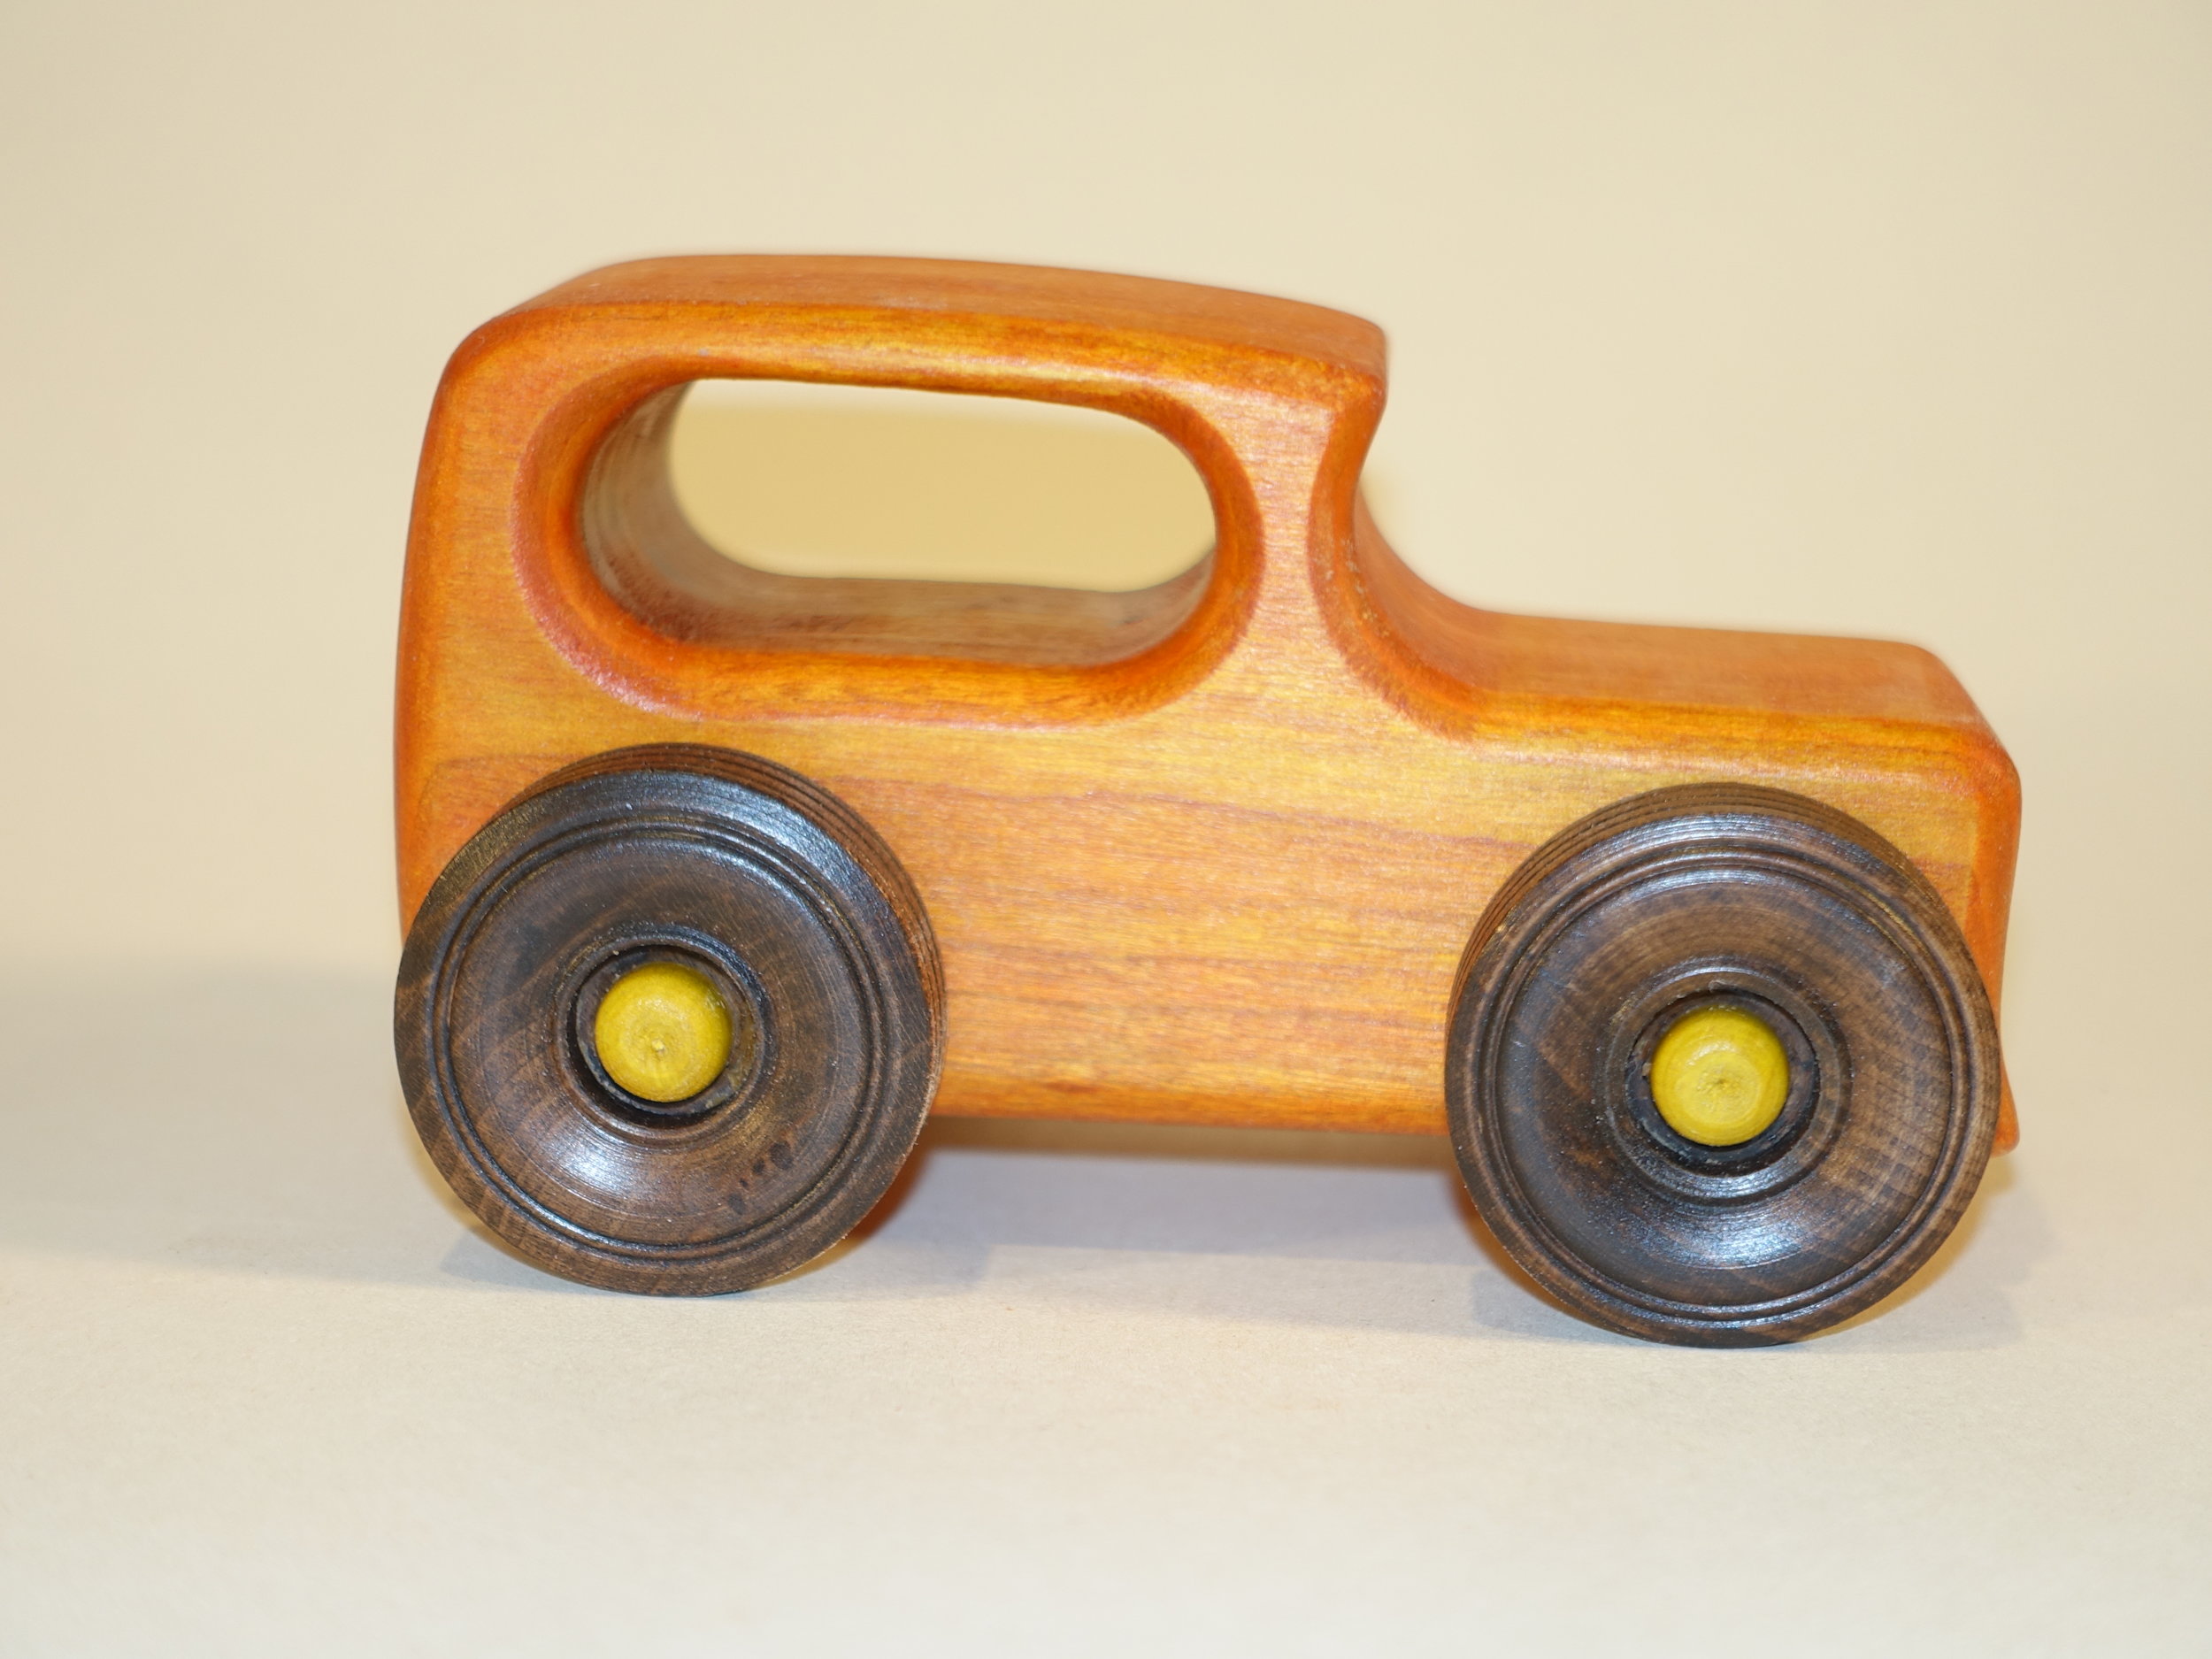
These toy cars were created as a series of gifts for my grandson. There are a total of 9 so far. Each car is/will be featured below with a free profile plan. Eventually I'll add a couple more pieces.
8 of the 9 cars were inspired by images in an activity book that my grandson liked to read.


Build notes:
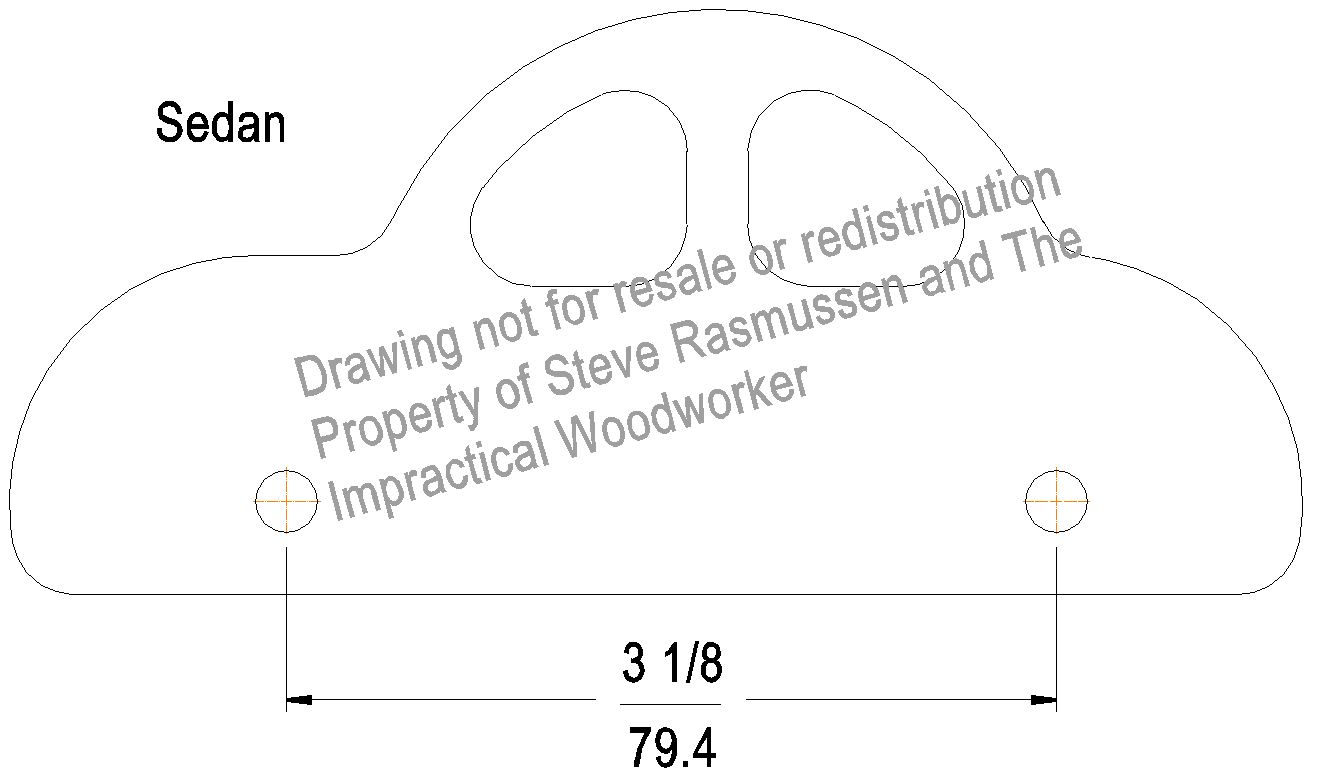
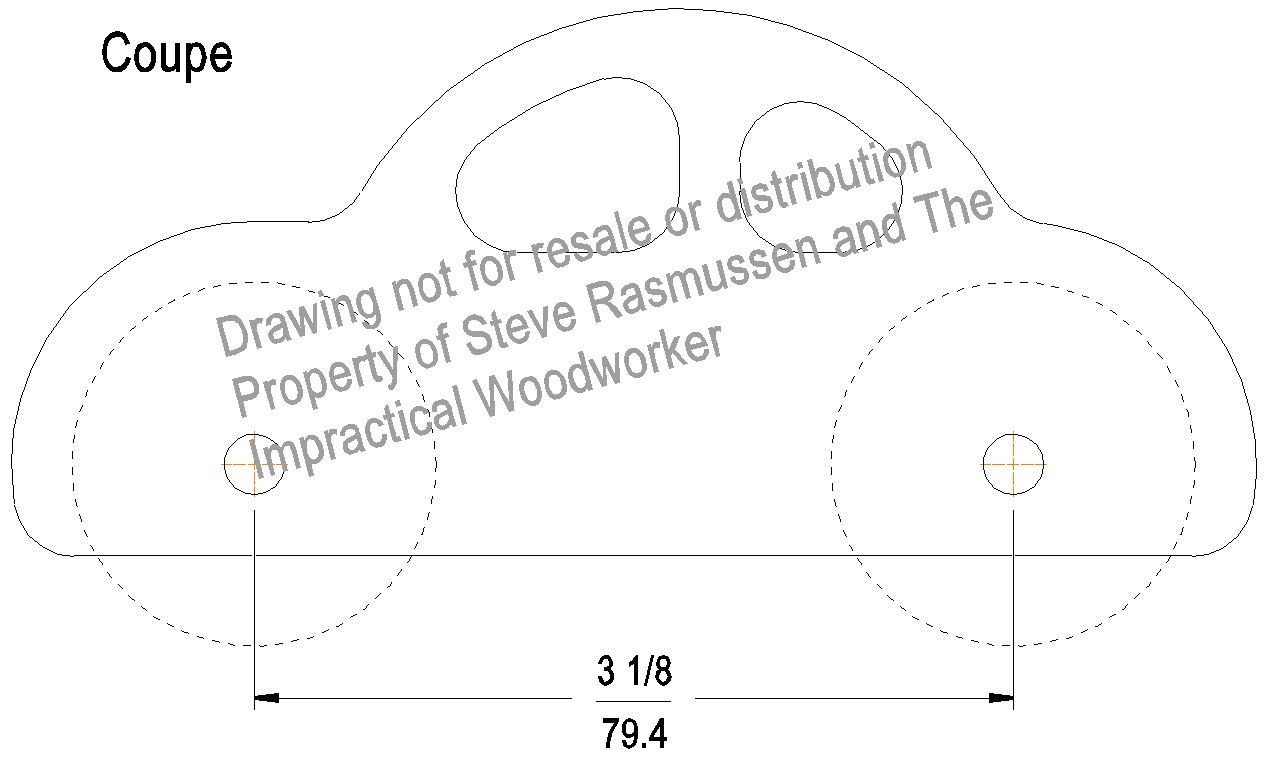
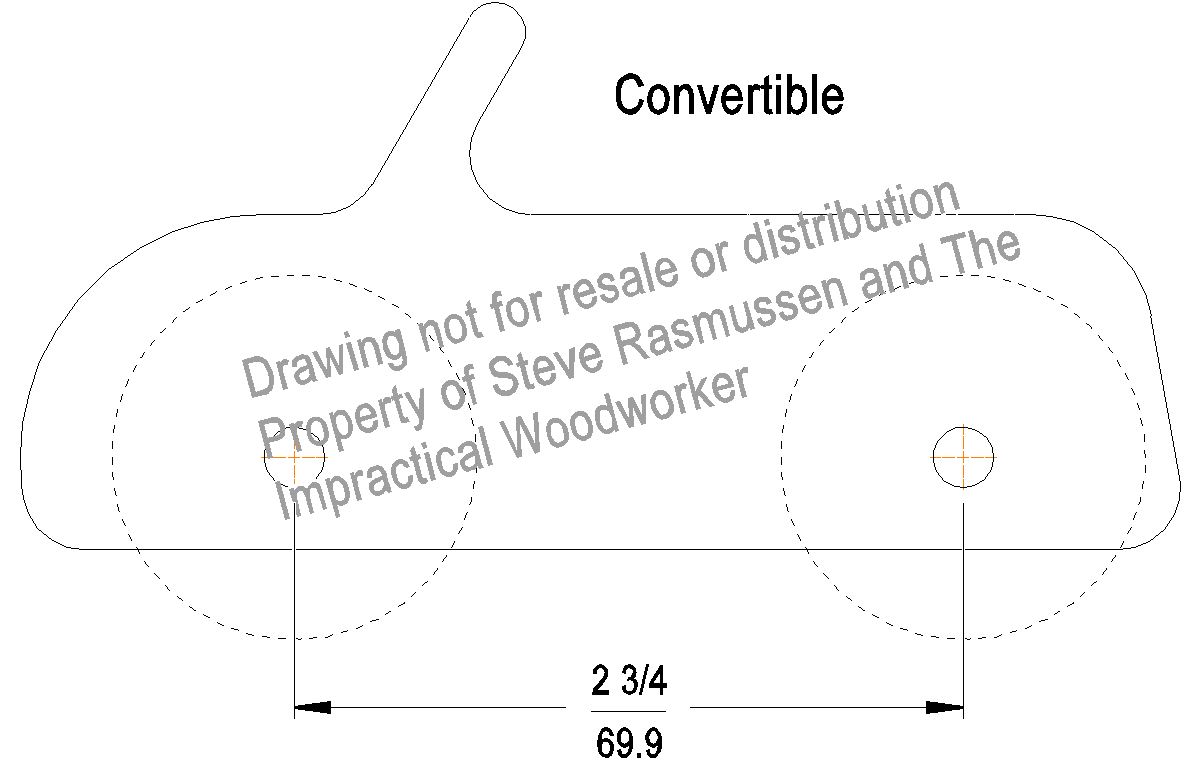
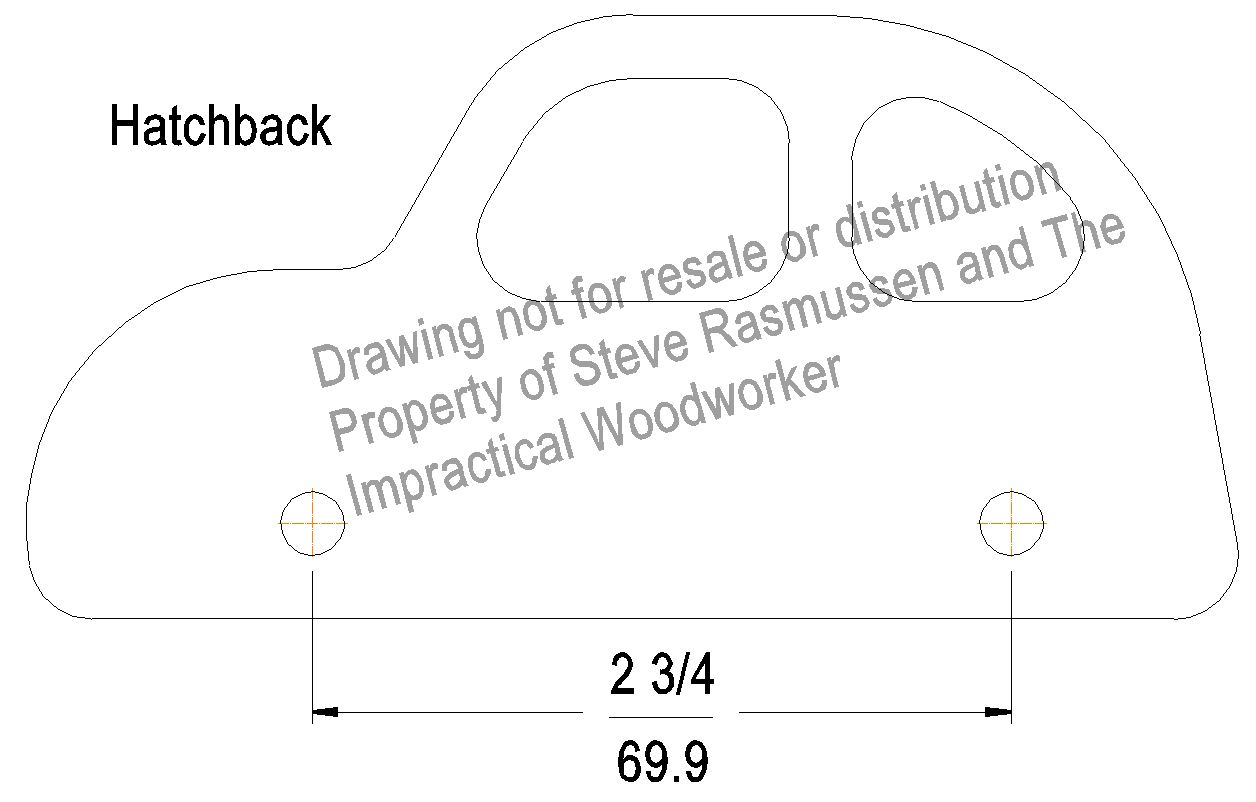
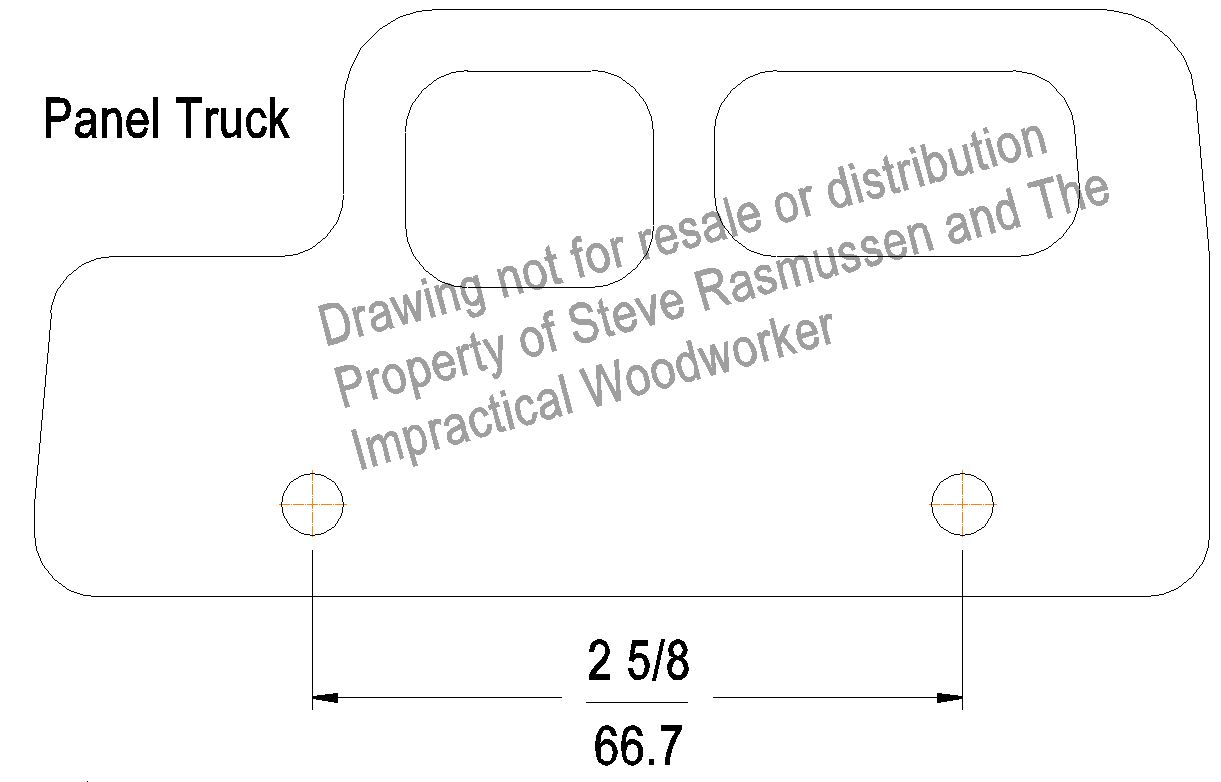
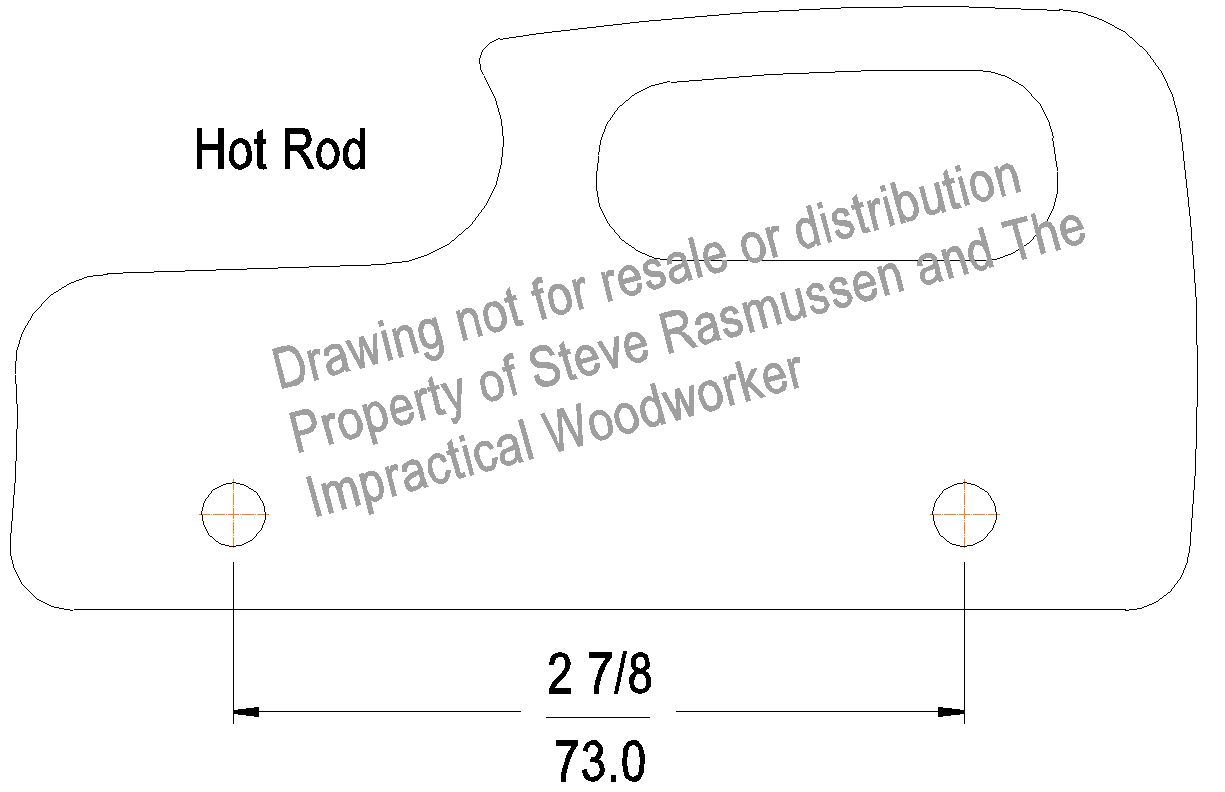
Download and/or print the profile plan. If needed scale the drawing until the axle spacing is correct.
Materials needed:
Hardwood blank 1 7/8” thick, wide enough and long enough for the car(s) you are building
For cutting blanks I use blocks 1 7/8” thick. You could use a standard 3/4” blank, but:
A thicker block is easier for small hands to hold and easier to keep stable.
The thickness also allows for longer axles which helps wheels track straight.
I use wheels and axles from craftparts.com:
The wheels are 1 1/2” x 1'/2” treaded wheels. You will need 4 per car.
The axles are 1-3/8" w/ 15/64" tenon. These axles reach about 3/4” into the car body. Again, you will need 4 per car.
I also use a flat washer for a 1/4” bolt for each wheel - 4 total.
Glue, paste wax (optional), dyes or stains (optional), finish
If making more than one car, consider using a long blank and draw several cars on the same piece. A longer piece is safer to handle and keeps hands further away from sharp tools.
Leave an extra strip of material 1/4 to 1/2” along the bottom to keep the cars joined together.
Do all cutting, drilling, sanding and shaping with the cars joined together.
Once no more work can be done, cut off the strip on the bottom.
Then round off the bottom corners shape and sand.
Use a drill press (or equivalent) to create the axle holes. Getting the holes accurately drilled is key to getting a car that will travel straight.
Make sure your hole diameter results in a snug fit for the axles. In my case this was slightly less than 1/4”.
Drill the axle holes first while the blank is larger.
Use a scroll saw, jig saw or coping saw to cut the window openings. These tools or a band saw can be used to cut the outside profile.
Make sure your cut is perpendicular.
Cut slightly outside the line.
Sand out the saw marks and bring the shape down to the lines.
I use a spindle sander with a 1/2” sleeve.
Files rasps and hand sanding will work as well.
Round over all edges to a 1/4” radius.
This size radius will overlap between windows and the roof line.
Just sand down the intersecting roundovers. The result will narrow the roof line slightly.
Sand all surfaces smooth. I sand to 220 grit.
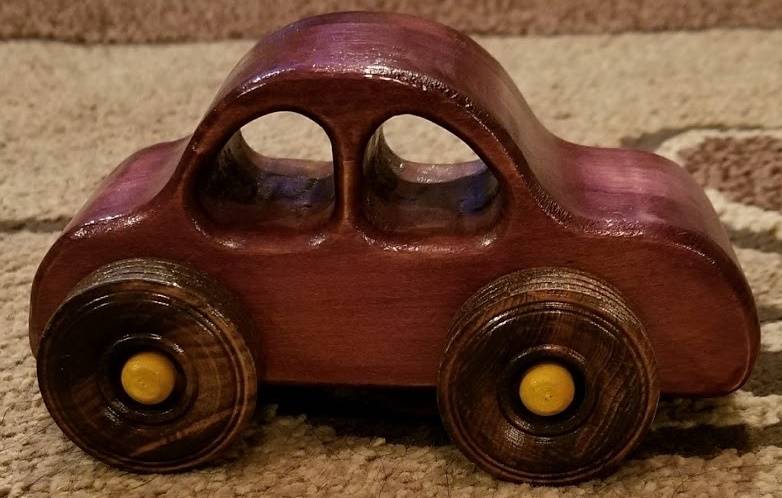
Finish the bodies, wheels, and axles before assembly. I apply finish to the head of the axle only. The bare axle is better for gluing and wax. The colors were created with TransTint Dyes and the finish is a water based polyurethane.
Assemble the car(s):